It's about time to start a build thread, so here goes . . .
A little bit about my background, I'm a Marine (0311 in the early 90's), hunter, fisherman, outdoorsman, and father of Rhodesian Ridgebacks.
I rode "Adventure Bikes" and camped off them for years. On one of my first motorcycle trips, my daughter handed me her stuffed elephant Savanna and told me Savanna would keep me safe. Savanna has been on every adventure I've been on since then as my faithful travelling companion. She'll pop up in pictures later.
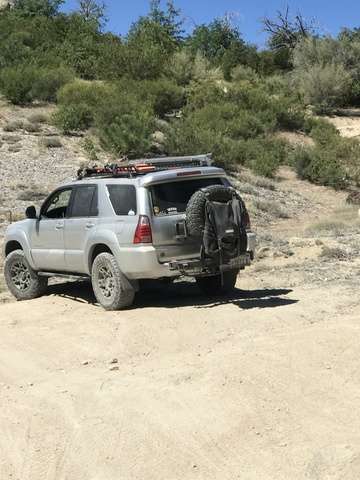
When my neck issues finally became too much, I sold the KTM's and bought a 4Runner. I spent 2 1/2 years building up my ultimate 2006 4Runner Sport Edition and camping all over southern California and Oregon. However, my daughter went to Colorado for college and needed a 4 wheel drive vehicle and I had been wanting something newer which got better mileage. If you're curious about "Hank," my build thread is located HERE.
![Image]()
Enter my 2020 Colorado Z71 Trail Runner. I bought it brand new on April 23, 2020. It is my first brand new truck and I'm really enjoying it. I didn't even know about the Trail Runner package before I got to the dealer. I went planning on buying a Z71 with the Duramax, but the one I wanted was broken. The sales guy showed me my truck and told me about the Trail Runner package. Basically, you get the ZR2 sliders and skid plate(s) and tires (Wrangler Duraatracs) and the Bison grille. I realized it was a great deal and that I would only need to upgrade the suspension to have a trail ready truck.
Here it is the day I brought it home:
![Image]()
![Image]()
Here is how it looked as of January 23, 2021:
![Image]()
![Image]()
How it looked in October 2023:
![Image]()
![Image]()
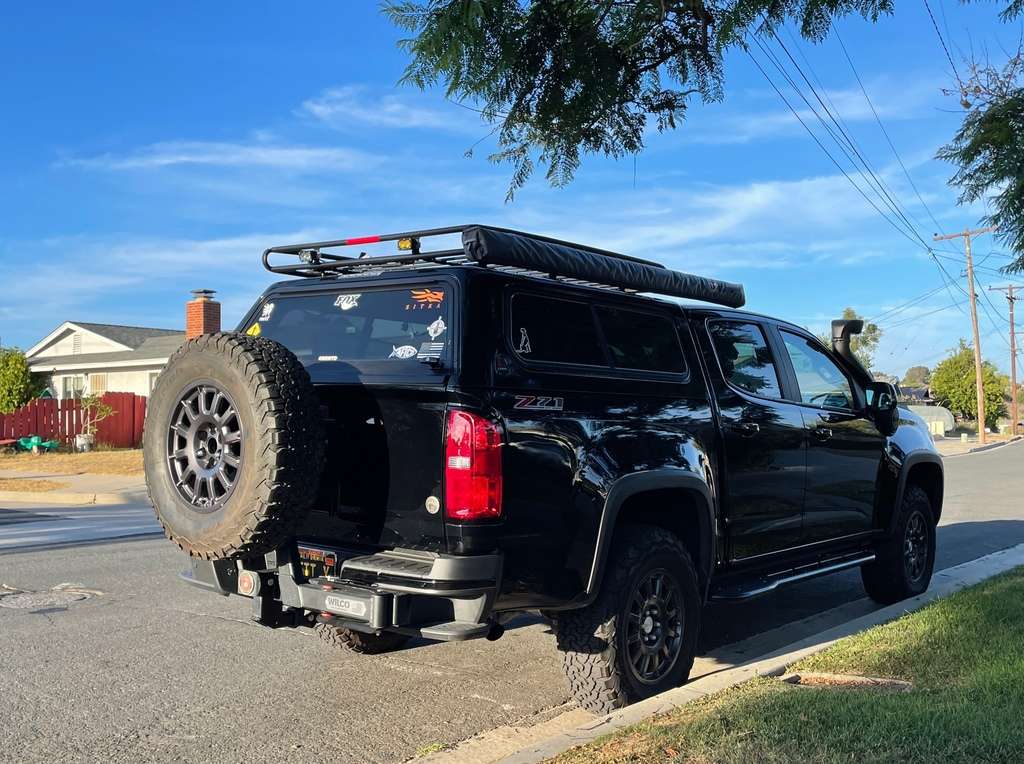
And how it looks now in January of 2025:
![Image]()
![Image]()
MODIFICATIONS
Suspension
Fox 2.0 Coilovers set at 2.5" (front)
Fox 2.0 Shocks (rear) with 1" lift block
Wheels and Tires
AEV Bison wheels
BF Goodrich KO2 tires - 255/75/R17
NoLoss Valve Stem Caps
Armor/Recovery/Misc
ZR2 Skid Plate
AEV Bison transmission, transfer, exhaust crossover, and rear differential skid plates
White Knuckle Off Road sliders with rear step-plates
Datin Rear Shock Skids
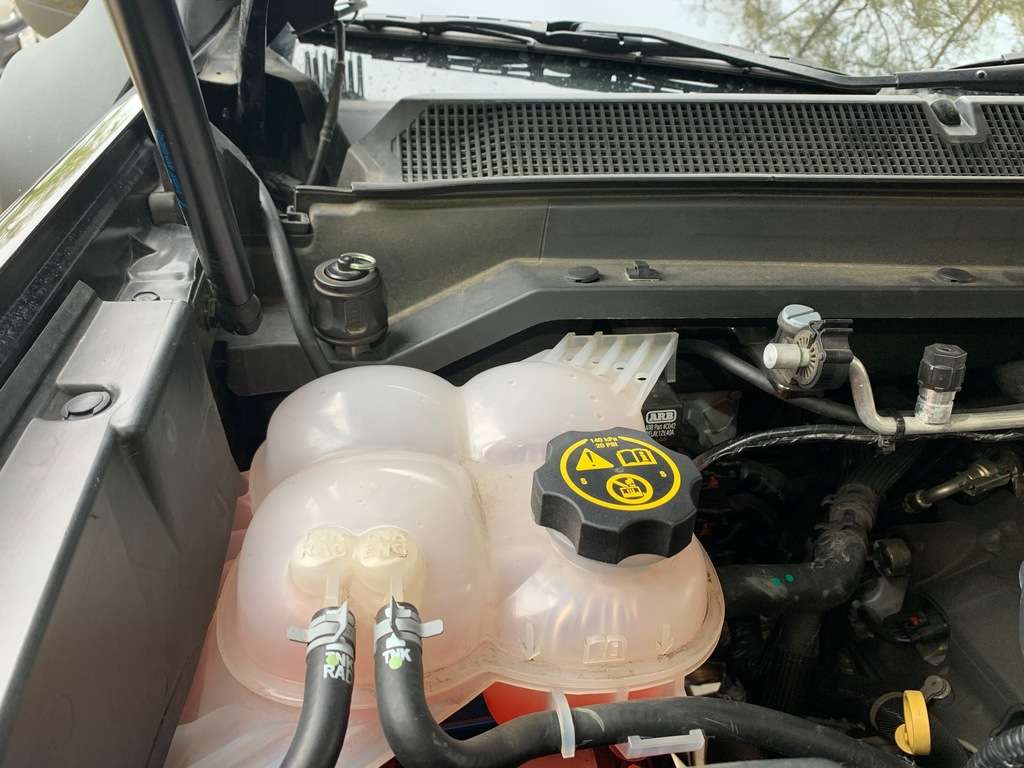
ARB Single Compressor on a 589 Fab Mounting Plate
Lighting/Electrical
Baja Designs Squadron Sport fog lights
Baja Designs Squadron Pro ditch lights
Baja Designs S2 Sport chase light
Baja Designs S2 Sport rear camp light
Trigger 4 Plus Controller with switches mounted in a 3D printed holder
Diode Dynamics SL-1 LED Low Beams
Auxito LED Low Beams
Exterior
AEV Snorkel
Leer Shell/Topper
Go Fast Camper Platform Camper No. 2857
Wilco Hi-Clearance Hitchgate with the Frontrunner Flip Down Table with a Rigd cutting board and 1 gallon Rotopax for water
Custom Bed Tie-down Platform with Tool and Miscellany Drawers
MagnaFlow Overland cat-back exhaust
Baja Rack Camper Shell Standard Roof Basket
GM Fender Flares
Black COLORADO Emblems
Black Plastidipped rear Bow Tie
ARB 2000 Awning with LED Light Strip
Shovel
Maxsa Traction Boards
Overland Labs Hammock
Interior and Comms
Kenwood TM-V71A Dual Band Ham Radio (KM6WTD) with Diamond K400C NMO Antenna Mount
Expedition Essentials Colorado Powered Dash Mount (CPAM)
Customized Course Motorsports phone mount on CPAM
HomeLink rearview mirror
Rough Country speedometer corrector
Garmin InReach Mini2
Baofeng UV8R Dual Band Handheld
North Face small duffle on driver's headrest with head lamp, flashlight, lighter, and spare sunglasses
Blue Ridge Overland Gear dump pouch on passenger's headrest for trash
Rear seats removed and replaced with a custom dog platform for the Ridgebacks
A little bit about my background, I'm a Marine (0311 in the early 90's), hunter, fisherman, outdoorsman, and father of Rhodesian Ridgebacks.
I rode "Adventure Bikes" and camped off them for years. On one of my first motorcycle trips, my daughter handed me her stuffed elephant Savanna and told me Savanna would keep me safe. Savanna has been on every adventure I've been on since then as my faithful travelling companion. She'll pop up in pictures later.
When my neck issues finally became too much, I sold the KTM's and bought a 4Runner. I spent 2 1/2 years building up my ultimate 2006 4Runner Sport Edition and camping all over southern California and Oregon. However, my daughter went to Colorado for college and needed a 4 wheel drive vehicle and I had been wanting something newer which got better mileage. If you're curious about "Hank," my build thread is located HERE.
Enter my 2020 Colorado Z71 Trail Runner. I bought it brand new on April 23, 2020. It is my first brand new truck and I'm really enjoying it. I didn't even know about the Trail Runner package before I got to the dealer. I went planning on buying a Z71 with the Duramax, but the one I wanted was broken. The sales guy showed me my truck and told me about the Trail Runner package. Basically, you get the ZR2 sliders and skid plate(s) and tires (Wrangler Duraatracs) and the Bison grille. I realized it was a great deal and that I would only need to upgrade the suspension to have a trail ready truck.
Here it is the day I brought it home:


Here is how it looked as of January 23, 2021:
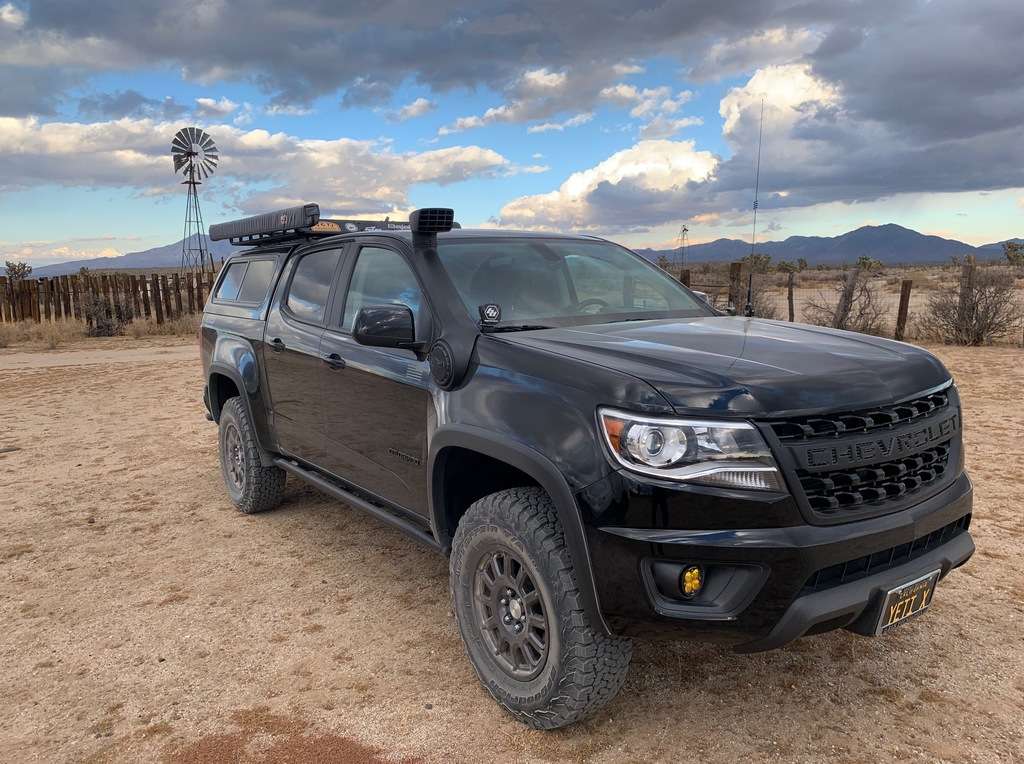
How it looked in October 2023:

And how it looks now in January of 2025:


MODIFICATIONS
Suspension
Fox 2.0 Coilovers set at 2.5" (front)
Fox 2.0 Shocks (rear) with 1" lift block
Wheels and Tires
AEV Bison wheels
BF Goodrich KO2 tires - 255/75/R17
NoLoss Valve Stem Caps
Armor/Recovery/Misc
ZR2 Skid Plate
AEV Bison transmission, transfer, exhaust crossover, and rear differential skid plates
White Knuckle Off Road sliders with rear step-plates
Datin Rear Shock Skids
ARB Single Compressor on a 589 Fab Mounting Plate
Lighting/Electrical
Baja Designs Squadron Sport fog lights
Baja Designs Squadron Pro ditch lights
Baja Designs S2 Sport chase light
Baja Designs S2 Sport rear camp light
Trigger 4 Plus Controller with switches mounted in a 3D printed holder
Auxito LED Low Beams
Exterior
AEV Snorkel
Go Fast Camper Platform Camper No. 2857
Wilco Hi-Clearance Hitchgate with the Frontrunner Flip Down Table with a Rigd cutting board and 1 gallon Rotopax for water
Custom Bed Tie-down Platform with Tool and Miscellany Drawers
MagnaFlow Overland cat-back exhaust
GM Fender Flares
Black COLORADO Emblems
Black Plastidipped rear Bow Tie
ARB 2000 Awning with LED Light Strip
Shovel
Maxsa Traction Boards
Overland Labs Hammock
Interior and Comms
Kenwood TM-V71A Dual Band Ham Radio (KM6WTD) with Diamond K400C NMO Antenna Mount
Expedition Essentials Colorado Powered Dash Mount (CPAM)
Customized Course Motorsports phone mount on CPAM
HomeLink rearview mirror
Rough Country speedometer corrector
Garmin InReach Mini2
Baofeng UV8R Dual Band Handheld
North Face small duffle on driver's headrest with head lamp, flashlight, lighter, and spare sunglasses
Blue Ridge Overland Gear dump pouch on passenger's headrest for trash
Rear seats removed and replaced with a custom dog platform for the Ridgebacks